Course
Click on the hole number to view the layout, yardage, and additional information. View the scorecard below.

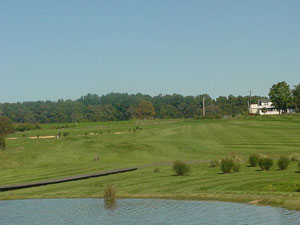 1ST HOLE PAR 4
A beautiful starting hole. There is a large pond in front of tee, wetlands left and out of bounds right. A well-placed tee shot leaves you an uphill shot to a narrow green guarded by a large bunker in front.
- Black: 435
- Blue: 404
- White: 388
- Gold: 363

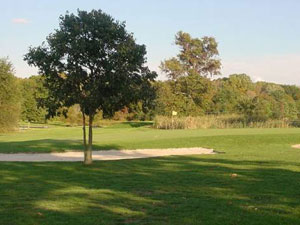 2ND HOLE PAR 4
A straight hole with a wide landing area for your tee shot. The green is deep to better hold your approach into its smooth, flat putting surface.
The green is protected by a bunkers on its front right, but take the ball straight in and you’ll avoid any trouble.
- Black: 423
- Blue: 383
- White: 365
- Gold: 348

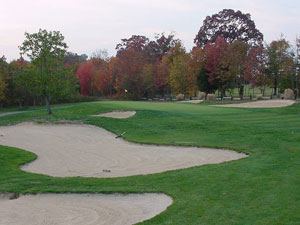 3RD HOLE PAR 5
A lengthy, dogleg left hole requiring two, well-placed shots to get to the optimum area to turn the corner and approach the green.
Bunkers guard the green on the far right side and at the near front left.
- Black: 507
- Blue: 496
- White: 483
- Gold: 451

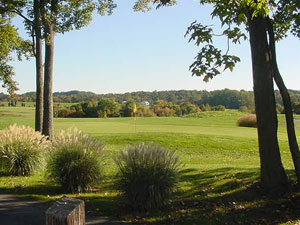 4TH HOLE PAR 4
A drive to the center of the fairway will position the ball on a up hill lie for the second shot. Select an extra club to reach the long and narrow green that is bordered by bunkers on the left side.
- Black: 386
- Blue: 375
- White: 324
- Gold: 300

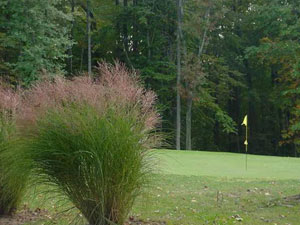 5TH HOLE PAR 3
A straightforward hole. The pin is visible from the tee, but the green surface is not visible due to the ornamental grasses in front.
- Black: 180
- Blue: 165
- White: 148
- Gold: 109

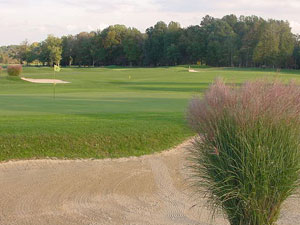 6TH HOLE PAR 4
From the front tees, the wide-open fairway is visible but from the back tees the fairway is not visible and there is a much narrower perspective prior to the reaching the fairway.
- Black: 432
- Blue: 411
- White: 336
- Gold: 308

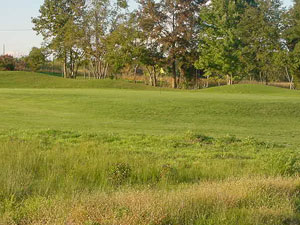 7TH HOLE PAR 3
Players are required to carry their shot over some of the Wetland’s marshland., to hit the shallow but wide green that runs from left to right. Going too long on this hole can be costly.
- Black: 175
- Blue: 165
- White: 155
- Gold: 138

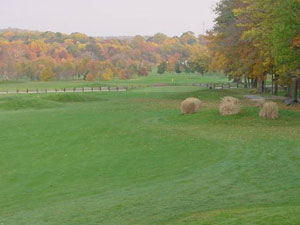 8TH HOLE PAR 5
Wetlands’ longest and its number one handicap hole. Hit a tee shot to the generous landing area in the fairway and your off to a great start on this one. Then place a second shot up to the corner of the 90 degree, left dogleg and then land a gentle wedge on the green.
- Black: 602
- Blue: 586
- White: 466
- Gold: 448

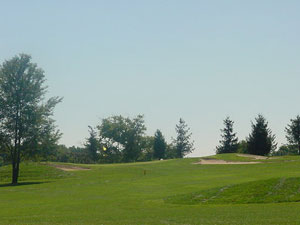 9TH HOLE PAR 4
A strong hitter can carry the sharp dogleg and have a second shot of less than a 100 yards to the green. The safe shot is to land in the middle of the fairway at the dog leg and this will leave the player with about a 150 yard shot to the green.
- Black: 453
- Blue: 383
- White: 371
- Gold: 360

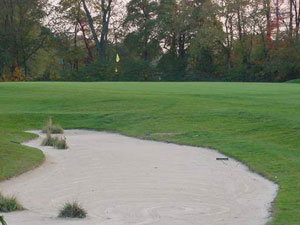 10TH HOLE PAR 4
A drive carrying the tree located on the right side of the fairway, will leave the player with about an 80-yard second shot to the green. If your drive is not that strong then just play to the left of the tree and you should have a comfortable 120-140 yard second shot. The left side of the fairway is protected by bunkers and the right side is protected by hills and bunkers.
- Black: 317
- Blue: 308
- White: 297
- Gold: 282

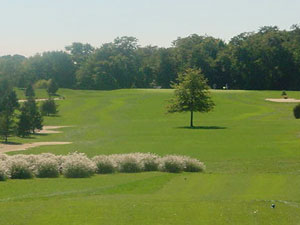 11TH HOLE PAR 4
One of the more interesting holes on the course. Long fairway bunkers line the left side of the fairway and OB lines the right side. Just to make the hole more fun there is a tree located in the middle of the fairway at about 180 yards from the large elevated green.
- Black: 459
- Blue: 432
- White: 411
- Gold: 370

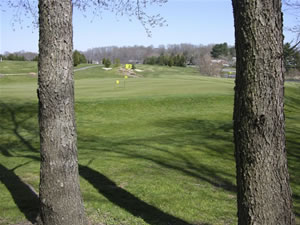 12TH HOLE PAR 3
Elevated tees overlook a receptive two-tiered green. Your accuracy with the wedge is critical on this hole.
- Black: 122
- Blue: 116
- White: 103
- Gold: 81

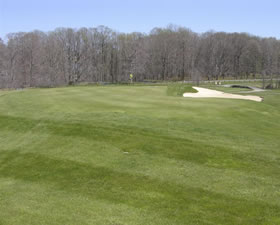 13TH HOLE PAR 4
This rolling dogleg right hole has a fairway flag that marks the center of the fairway at the dogleg turn. A well-placed shot just to the left of the fairway flag will provide the player with an open entrance to the green that is protected by bunkers on the right and a large hill on the left.
- Black: 440
- Blue: 424
- White: 412
- Gold: 387

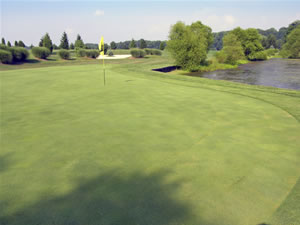 14TH HOLE PAR 5/4
The relatively short par five is protected by long fairway bunkers on the right and OB on the left. Caution, although the hole is short, the green is protected by water on the left and behind the hole, hills and tall grassed on the right and various bunkers, ornamental grasses and hills in front.
- Black: 479
- Blue: 479
- White: 479
- Gold: 348

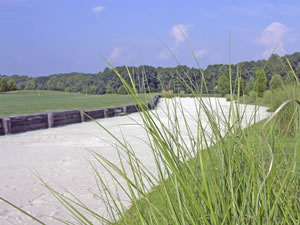 15TH HOLE PAR 4
A straightforward hole protected by fairway bunkers on the right. There are some greenside bunkers in front of the green that are not visible from the fairway. The green is very receptive.
- Black: 363
- Blue: 347
- White: 328
- Gold: 299

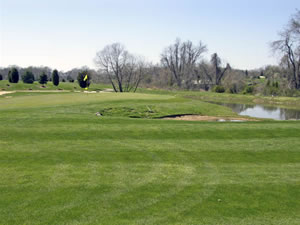 16TH HOLE PAR 3
A short par three that requires a shot that carries some more Wetland’s marshland, to hit a well protected long and narrow green.
- Black: 150
- Blue: 138
- White: 133
- Gold: 117

 17TH HOLE PAR 4
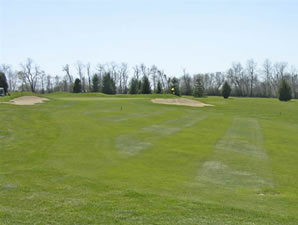
The green can not be seen from the tee but a well placed shot aimed towards the cart path visible at the crest of the hill, will put the player in position for a 140-160 yard approach to the green. Caution to longer hitters: Avoid going straight down the fairway and right. There is trouble up there.
- Black: 387
- Blue: 372
- White: 355
- Gold: 295

 18TH HOLE PAR 4
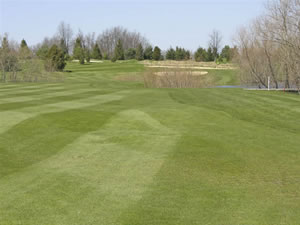
Saving one of the most picturesque golf holes for last. A water hazard that extends for about two-thirds of the way into the green. A bunker lies in front of the green to taunt you and three more are behind the green. The good news is that the green is wide.
A pretty wetlands way to finish your day.
- Black: 392
- Blue: 380
- White: 360
- Gold: 335

